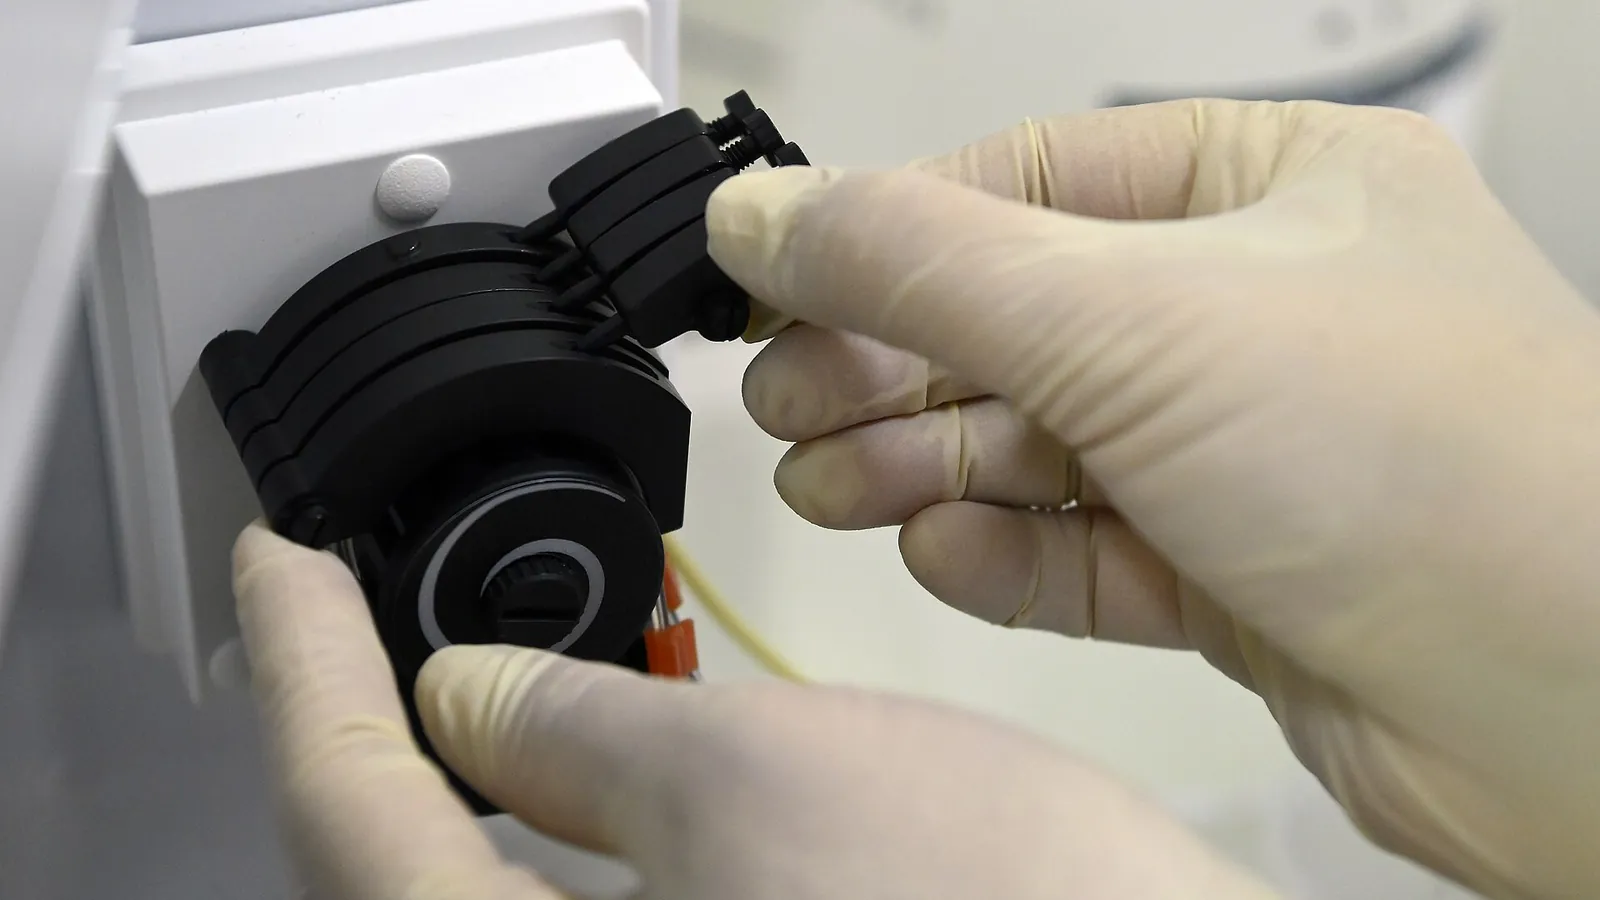
Replacing the tube in a peristaltic pump is a five-minute job that most teams stretch into a whole afternoon of guesswork — different tube lengths, the wrong tension, the track not seated, flow recalibrated twice. The good news: with a simple SOP, tube replacement becomes the most reliable maintenance task on the line.
When to Replace: 5 Warning Signs
- Flow drops below spec. If the pump cannot reach its set flow at the same speed, the tube has lost elastic recovery.
- Visible cracking or crazing. Surface cracks mean the material is degrading — replace before a leak, not after.
- White or cloudy patches. These are internal stress marks where the roller squeezes; the tube is about to split.
- Tube no longer returns to round. After removing from the head, a healthy tube springs back. A flattened or oval section means permanent set.
- Buildup or swelling. Media absorption makes the tube sticky, swollen or discolored — a sign of chemical incompatibility, not just age.
As a rule of thumb, plan on 300–2,000 hours depending on speed, pressure and media. Log actual hours per installation — your own data beats any manufacturer estimate.
The 8-Step Replacement SOP
- Isolate and depressurize. Stop the pump, close inlet and outlet valves, and drain the line. Never change a tube under pressure.
- Release the head. Open the pump head latch (or release the clamping mechanism) so the roller track is accessible.
- Remove the old tube. Pull it out of the track and the inlet/outlet fittings. Inspect it — note the failure mode for your maintenance log.
- Check the head. Wipe the rollers and track. Look for wear, debris or chemical residue. A dirty track eats a new tube fast.
- Cut the new tube to the marked length. Most heads have a tube length guide; use the pre-marked length on the tubing or measure against the old piece. Square ends matter — a ragged end leaks at the fitting.
- Seat the tube fully. Lay it into the track and confirm it is seated against the back wall before closing the latch. A pinched tube halves flow.
- Close the head and check occlusion. The tube should be just visibly compressed by the rollers — not crushed. If the drive stalls or the tube looks flattened, release and re-seat.
- Prime and verify flow. Run the pump at low speed until fluid flows, then confirm the flow rate against spec. Recalibrate if your system has a flow setpoint.
FAQ
Should I replace tubing on a schedule or on condition?
Both. Use a conservative schedule for critical or regulated processes (for example every 500 hours), and condition-based replacement for general duty — the 5 signs above. Logging hours makes the schedule data-driven.
Can I reuse a removed tube?
No. Once a tube has taken a permanent set from roller compression it will never deliver accurate flow again. Tubing is a consumable — the cost of a tube is far lower than the cost of a failed batch.
Why does my new tube still leak at the fitting?
Almost always one of three things: the end was not cut square, the tube was not seated fully in the track, or the fitting was over-tightened. Re-cut, re-seat and hand-tighten the fitting, then retest.