Most peristaltic pump tubing failures are installation errors, not material defects. A tube that is the wrong size for the head, routed the wrong way, or squeezed too tightly can lose half its expected life — or fail in the middle of a batch. The good news is that installing tubing is a simple job. With a pump head open, the whole procedure usually takes under ten minutes, and most of it is common sense once you know the sequence.
This guide walks through the complete installation process: what to check before you start, a step-by-step procedure that works for most pump heads, the mistakes that cause early failure, a first-run checklist, and the maintenance habits that protect a newly installed tube. The steps below describe typical lab and light-industrial pump heads; always keep your pump's manual as the final authority for your specific model.
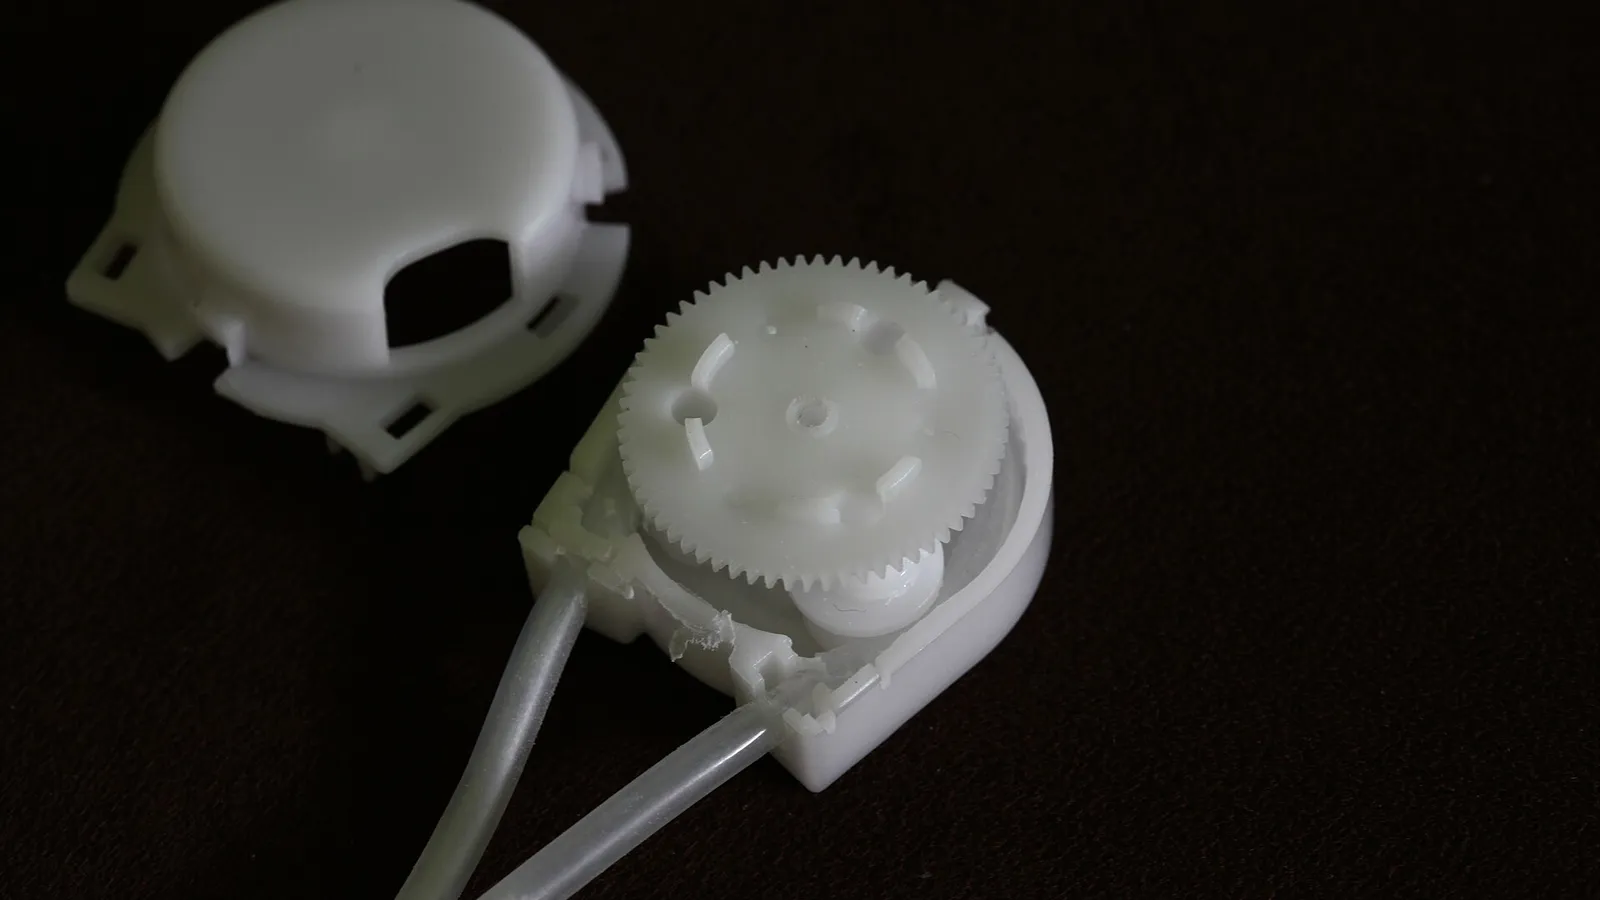
Before You Start: Choose the Right Tube and Inspect the Head
Installation begins before you touch the pump. Two checks up front prevent most of the problems that show up later.
1. Confirm the tube size matches the pump head
Peristaltic pump tubing uses a standard size system from roughly 13# to 25# (and 17#/18# for larger flows), based on the tube's inner and outer diameter. Each pump head is designed around specific tube diameters — the spacing between the rotor and the track is fixed geometry. Fitting a tube with the wrong outer diameter changes the occlusion (the amount of squeeze), which either starves the pump of flow or crushes the tube wall. Check the specification label on the head or its manual, and match the tube size exactly. If the head accepts several sizes, the size you choose sets the flow range, so pick the one that reaches your target flow at a mid-range speed.
2. Inspect the pump head before loading a new tube
Open the head and look at the rotor, rollers and track. Rollers should spin freely on their pins, and the track surface should be clean and free of scratches. Wipe away dried fluid, dust or tube debris with a soft cloth and a compatible cleaner. A worn or gritty track shortens tube life no matter how carefully you install the tube, so it is worth fixing before you close the head again.
If you are switching fluid types, also check that the tube material is compatible with the new liquid — silicone for water-based and food media, PTFE-lined for aggressive chemicals, Norprene-type TPE for oils and mild solvents. A chemically incompatible tube can swell, harden or leach into your process, and no installation technique can fix that.
Step-by-Step: How to Install Peristaltic Pump Tubing
This procedure covers the standard open-track pump head design used on most lab and light-industrial pumps. Follow the steps in order, and pause at step 8 if your head does not have an adjustable tension setting.
- Turn the pump off and release line pressure. Unplug or stop the pump and open any valves so pressure in the suction and discharge lines can bleed off. Installing a tube against a pressurised line is awkward and can spray fluid.
- Open the pump head. Flip the latch or release lever, then swing the track away from the rotor. On some heads the track slides out; on others the whole cover hinges. If the head resists, check for a locking screw before forcing it.
- Clean and inspect the head cavity. Confirm the rollers are clean and turn freely, and the track groove is free of debris. This is the same check as before you started — do it again now that the head is open, because it is the last time you will see the inside until the next change.
- Confirm the tube size against the head marking. Most heads stamp the accepted tube sizes on the housing or cover (for example, "13#, 14#, 19#, 16#, 25#"). Match your tube before routing it. A quick check here avoids redoing the whole installation.
- Route the tube around the rotor, between the rollers and the track. Feed the tube in at the inlet guide, wrap it around the rotor so it sits in the groove of the track, and out through the outlet guide. The tube must pass between the rotor and the track — not over the top of the rotor.
- Position the tube without twisting. Make sure the tube lies flat in the groove along its whole length and is not twisted or kinked. A twisted tube pinches at the entry point and can cause uneven occlusion. Leave a little slack on both ends so the tube is not under tension as it enters and exits the head.
- Close the head and latch it. Swing the track back into place and secure the latch. The head should close fully without forcing. If you have to push hard, the tube may be the wrong size or not seated in the groove — open and recheck rather than forcing the latch.
- Set the occlusion or tension (if adjustable). On heads with an adjustable tension screw or lever, set the squeeze so the tube is compressed by roughly 20–25% of its wall thickness per side. As a practical check, the tube should flatten visibly under the roller but still feel firm. When in doubt, start on the looser side — under-squeeze costs a little flow, while over-squeeze costs a lot of tube life.
- Test run at low speed with the line open. Start the pump at low speed with the discharge line open and no back pressure. Watch the tube as the rollers pass: it should flatten and recover smoothly with no bulging. Let it run for a minute, then confirm fluid is moving and the head is dry.
That is the full procedure. The first time you do it, expect it to take ten to fifteen minutes; by the third tube change it is usually a five-minute job.
Common Installation Mistakes to Avoid
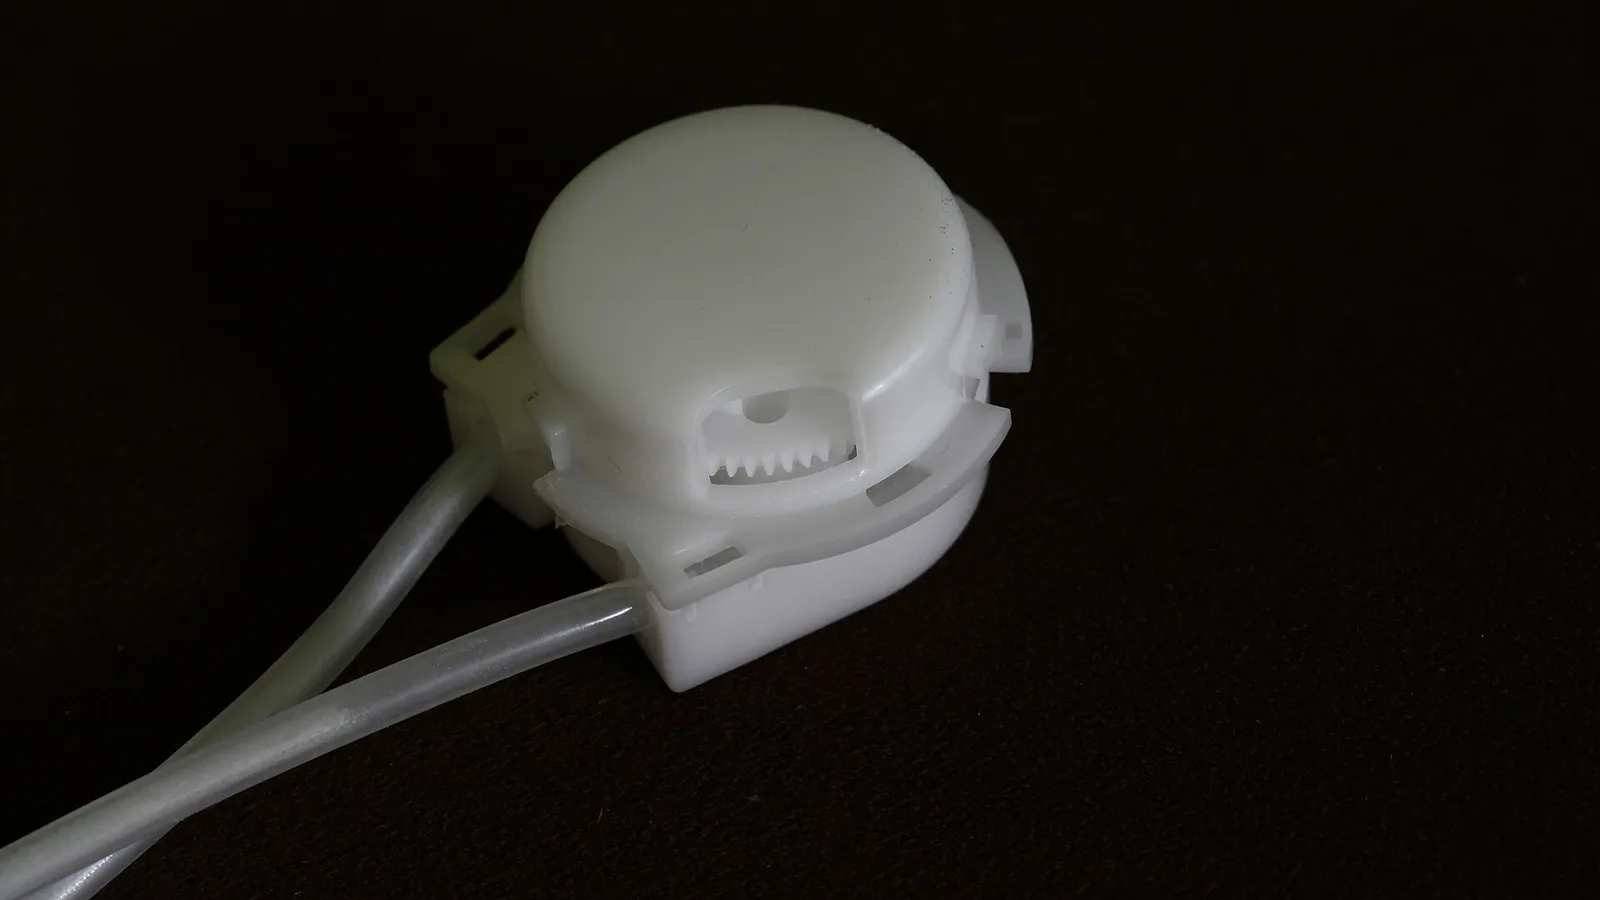
- Routing the tube the wrong way. Many heads have an arrow or marked inlet/outlet that expects the tube to enter on a specific side. Reversing the direction does not stop the pump, but it can change flow direction, trap air at the inlet, or stress the tube at the guide. Follow the marking on the head.
- Occlusion too tight. This is the most common cause of short tube life. If the tube is squeezed too hard, the wall fatigues quickly and can split at the roller. You will see flat, polished or cracked sections of tube at the roller positions when you remove it.
- Occlusion too loose. The opposite error is just as common. Too little squeeze means low flow, weak suction, and fluid slipping back past the rollers. The pump runs, but it cannot reach its rated flow or hold prime.
- Skipping the purge. A dry tube with air trapped in the head can run for minutes producing no flow, and dry running at speed generates heat that damages the tube wall. Purge or prime the line before trusting the pump.
- Forcing the latch on a wrong-size tube. If the head will not close cleanly, the tube is probably too large. Forcing the latch over-squeezes the tube and can bend the track on some heads.
First-Run Checklist: Verify Flow and Check for Leaks
After the test run, run through this short checklist before returning the pump to service. It catches nearly all installation problems while the pump is still easy to work on.
- Flow verification. Measure the output at the discharge end with a graduated cylinder or flow meter for 30–60 seconds and compare it with the expected flow for your speed setting. A result more than 10% below expectation usually points to loose occlusion, a twisted tube, or a partially blocked line.
- Leak check. Run for a few minutes, then feel around the head, the tube ends and the fittings. Any wetness or dripping means the tube is not seated, the fitting is loose, or the tube has a defect — correct it before the leak reaches electronics or a labelled sample.
- Prime and purge. If the line was dry, let the pump run until the fluid stream is continuous with no visible bubbles, then pause and re-check the flow rate. Trapped air pockets can linger in the head and cause erratic dosing.
- Direction check. Confirm fluid is moving the way you expect — suction from the source vessel, discharge to the target. With a reversible pump this is easy to get wrong after a tube change.
- Temperature and sound. The head should feel warm, not hot, after ten minutes of running. A squeaking or clicking roller usually means the tube is rubbing on something — open the head and reseat it.
Maintenance Tips That Protect a Newly Installed Tube
- Run at the lowest speed that meets your flow. Fewer roller passes per litre pumped means slower tube wear, and the difference between 100 rpm and 300 rpm is easily a multiple of tube life.
- Release occlusion when the pump sits idle. If the pump will be unused for days, loosen the head or remove the tube so it is not permanently compressed at the roller positions. A tube parked under squeeze develops flat spots that cause pulsation later.
- Flush after aggressive fluids. After pumping chemicals, run a compatible rinse fluid through the line so residue cannot harden the tube wall or corrode the fittings.
- Log running hours. Tube life is measured in hours of pumping, not months on the shelf. A simple hour log lets you schedule replacements before the tube fails mid-batch.
- Inspect the tube at the roller positions. Check the flattened sections of the tube when you change it — the wear pattern tells you whether occlusion is set correctly for next time.
FAQ
Can I install tubing while the pump is running?
No. Stop the pump and release line pressure first. Installing a tube on a running rotor is unsafe, and the tube can be pulled in and damaged if it is not seated correctly.
How do I know the occlusion is too tight?
The signs are early — flow drops over time, the tube wears flat at the roller positions, and the motor sounds strained. If a new tube develops cracks or splits within the first few hundred hours, over-tight occlusion is the most likely cause.
Does the tube direction matter?
On most heads, yes. The head is marked with the expected inlet and outlet path, and the tube should follow it. Routing the tube backwards can flip the flow direction on reversible pumps and can stress the tube at the entry guide.
Do I need to prime the tube after installation?
Yes, unless the system is self-priming from a flooded source. For a dry line, let the pump run at low speed until the discharge stream is continuous and bubble-free. Running dry at speed heats the tube and shortens its life.
How often should I replace the tubing after installation?
It depends on pressure, speed, media and tube material — from a few hundred to a few thousand hours in typical duty. Replace when flow drops by 10% at the same speed, or when you see cracks, whitening or swelling on the tube wall. See our guide on how long pump tubing lasts for the details.